Search
Close this search box.

How Too – A Glimpse into jewellery design 3

‘Seaweed’ Silver and Ribbon beaded necklace. – Nature’s Way

This one of a kind necklace began life as a walk along the beach while on holiday. I can spend hours combing beaches and rock pools, taking photos and collecting interesting pebbles and drift wood.
I didn’t know it at the time but this clump of mixed seaweeds would inspire the colour palette of beads used and the way I have folded the silver to hang from the ribbons as if draped. I often take photos of my jewellery as I work on it. They work as a record to help me remember where I started and how I got to the end. This can jump start other designs in the future and it help me to share the journey with you.
I started with a strip of silver about 10mm wide and 1.5mm thick. This was then lengthened by repeatedly annealing the silver, by heating it to red hot with a blow torch, and running it through the rolling mill which is like a big pasta roller.
At this point I have to confess I have no real plan. I am just playing with the metal and seeing where it will lead me. I sliced into it with a piercing saw creating thinner sections and openings in the surface.
Keeping it soft by regularly annealing the silver I used round nosed pliers to contort, fold over and manipulate the silver till a form started to emerge. I know in my mind that it has to be capable of holding the felting wool in pockets to apply the beading later.

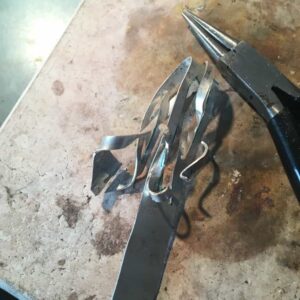
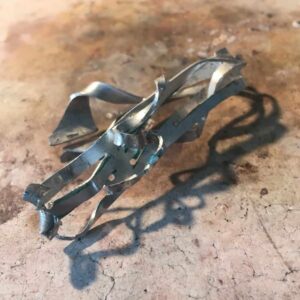
I admit that at this stage in the game there is little sign of any beauty or purpose. Will it be a necklace? Will it be a brooch? Or will I walk away?n


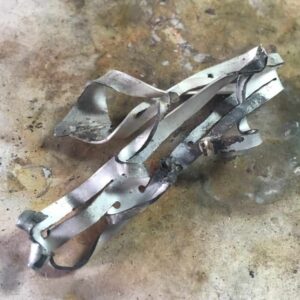
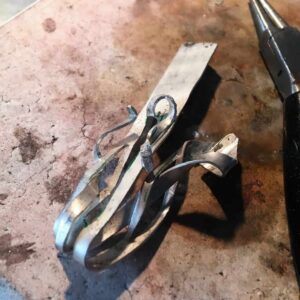
Now I can see a shape I want emerging! I need to secure it and firm up the form. This involves using silver solder and a blow torch to fuse together some of the edges. Just enough to stop any movement.

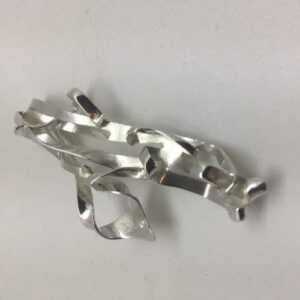
Now the clean up begins, using small needle files I shape and smooth all of the edges, internal and external. There can be no snagging surfaces. Next the whole piece has to be sanded with emery paper and silicone burrs to remove all of the surface scratches.

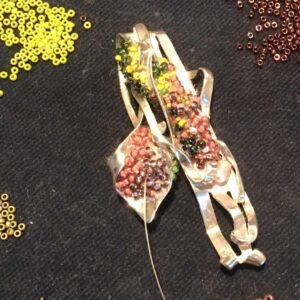
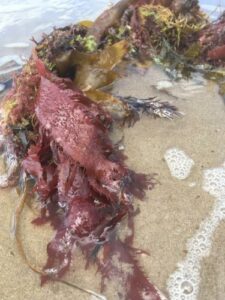
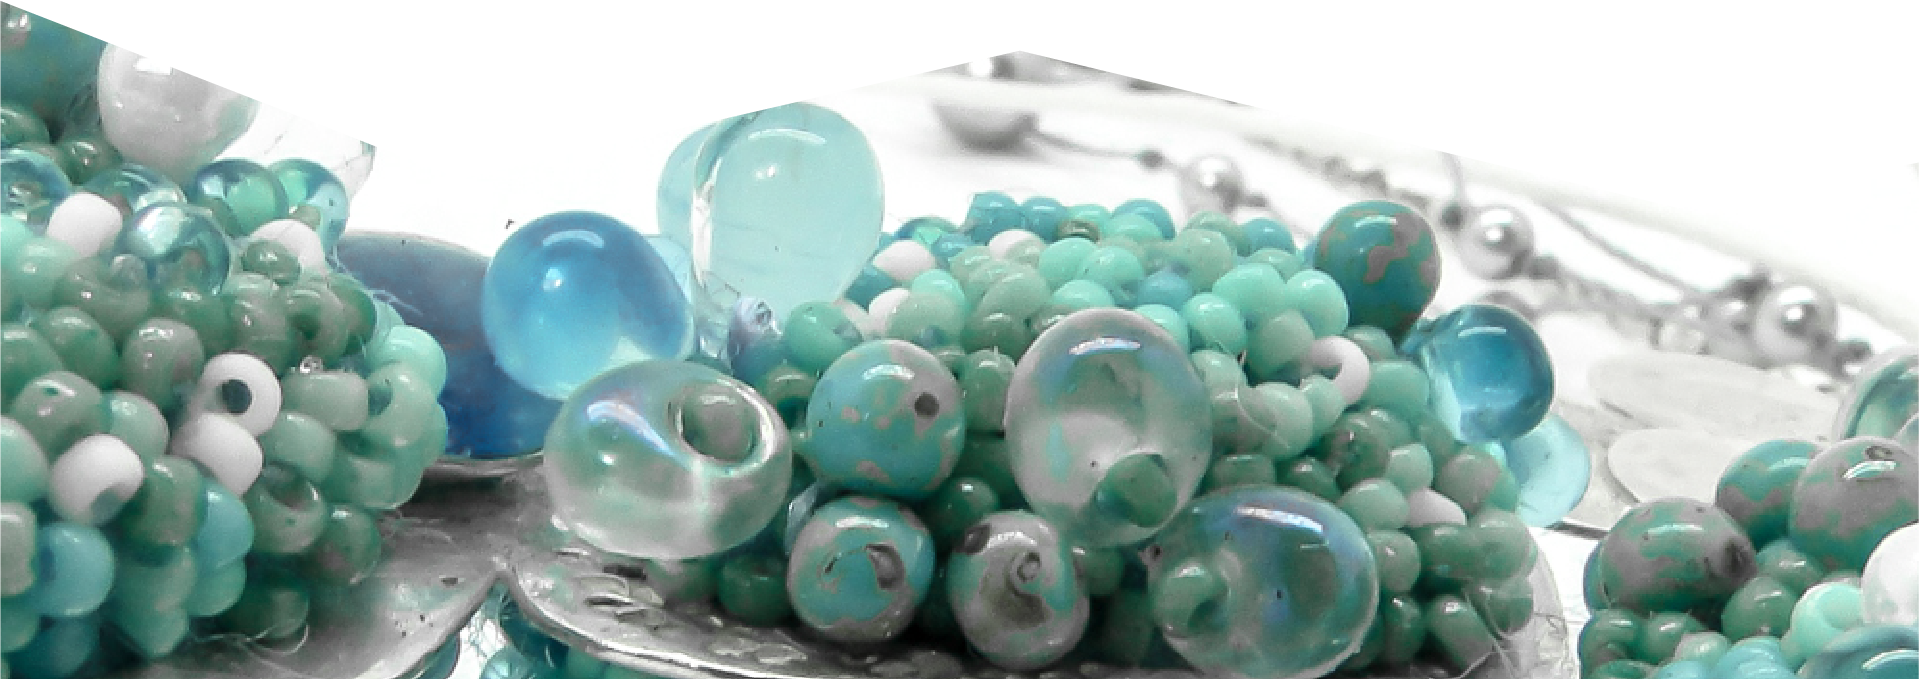
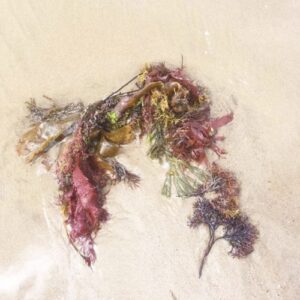
As I mentioned before I used the beautiful colours of the seaweed as an inspiration for my choice of seed beads. In order to attach them however I still need to hand roll sections of felting wool that fit into the crevasses. Once in place I use a very fine needle and extra strong beading thread to sew the beads in place, allowing the colours and textures to build up like an artist with a paint palette. This decoration wraps around the front and back of the silver, there must not be any ugly, unfinished vistas, just as in nature. I also chose to embed a small seed pearl, a product of the sea itself.

I confess I took awhile to get to the final stage and finish the necklace. Once it was fully beaded I could not decide on how to hang it. I tried all my usual chains and neckwires but they just didn’t suit the pendant. They were too formal and refined. Fast forward a few weeks and the ribbon idea popped into my head. Fast forward a few more weeks and I had sourced them. Once they arrived I had to work out how to use them. I used two in complimentary colours to the beading and inserted them in a way that kept the look messy and free, just like the seaweed on the beach. But that involved cutting off the cheap and nasty clasps that they came with and replacing them with hand sewn end caps in matt green and a silver chain and hook to allow size adjustments. With an attention to detail I even made a beaded weight to end the chain so it would hang nicely down your neck. Final step was to send it of to be hallmarked. Finito!!!

P.S. If you would like to stay in touch and up to date with what I am up too please join my MAILING LIST and follow me on FACEBOOK or INSTAGRAM.